Redakt version 1.2 adds content import & export features
September 9th, 2021

Redakt version 1.2 adds content import & export features to the system, as well as some other minor improvements and bug fixes. Redakt v1.2 is now available on NuGet.
Importing and exporting content
Being able to export content from one system, and then being able to import it into another system, can be a very useful feature to have on a CMS. For example, this allows you to prepare content in a staging environment, and then import it into a production environment. Even though Redakt has other mechanisms to prepare content within the same system (versions, revisions, scheduled publishing, etc.), sometimes it may be required convenient to transfer a whole site or larger chunks of content from one environment to the next. With version 1.2, Redakt now has this possibility as well. Both pages and assets can be exported and imported. Even though the import/export function is mainly meant for transferring content between systems, you could also use it to duplicate content within the same system.
Exporting content
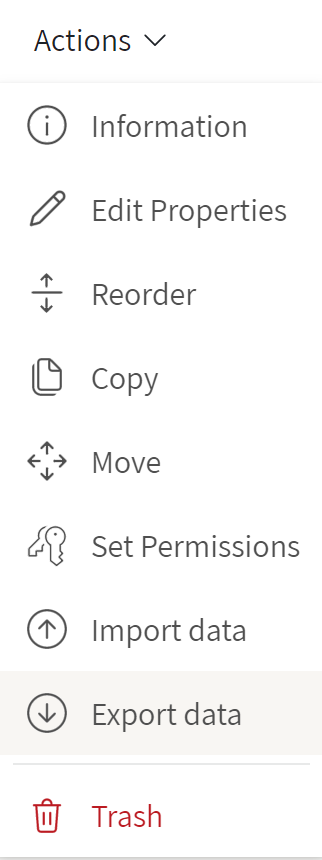
First of all, to be able to perform imports and/or exports on content, a user requires the new import/export permission. By default, users in the System Administrators group get this permission assigned when installing a new Redakt system. For other users, the import/export permission needs to be explicitly granted, either as part of the default permissions for a user group, or more fine-grained at any level of the content tree.
For users with import/export permissions, these options will appear in the Actions drop-down menu on any page or asset (folder) detail view. From there, an export package can be downloaded with data & content of the selected node, optionally including its descendants in the node tree.
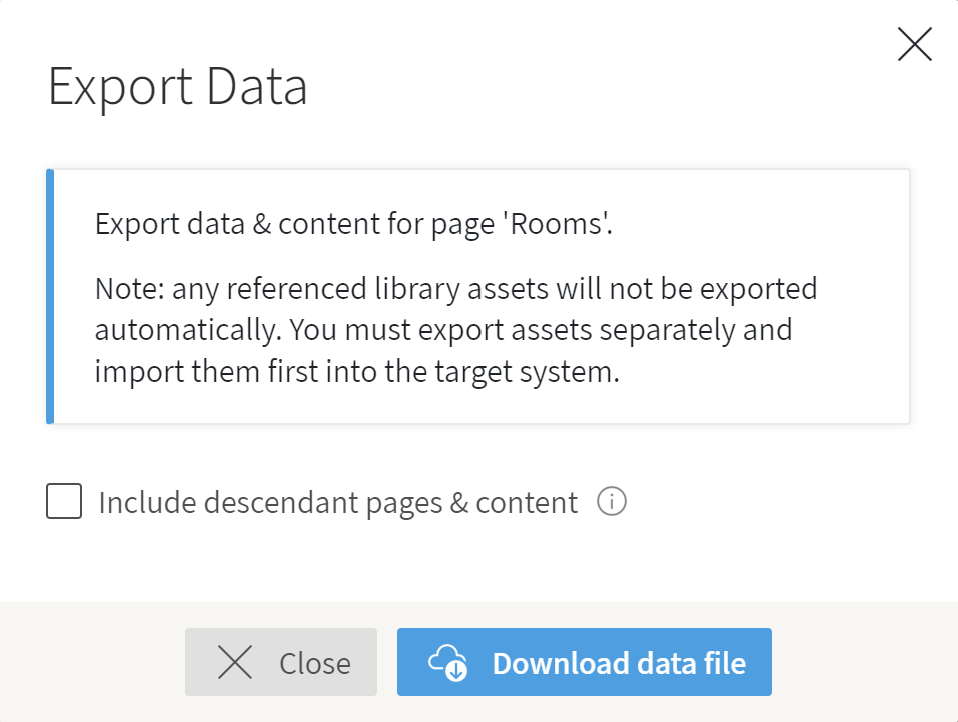 You can only either export pages, or assets, but not both at the same time. If page content contains references to assets from the asset library, these assets will not be automatically included in the export package. You will need to separately export and import these assets from the asset library.
Any media files (images, documents) associated with the content will be included in the export package.
Importing content
For importing your export package into the target system, select the node that will become the parent node of the content you are importing, and click the "Import data" item in the Action menu. If you want to import content into the root of your site or asset library, click on "Import root nodes" in the context menu next to the name of the site or asset library in the sidebar.
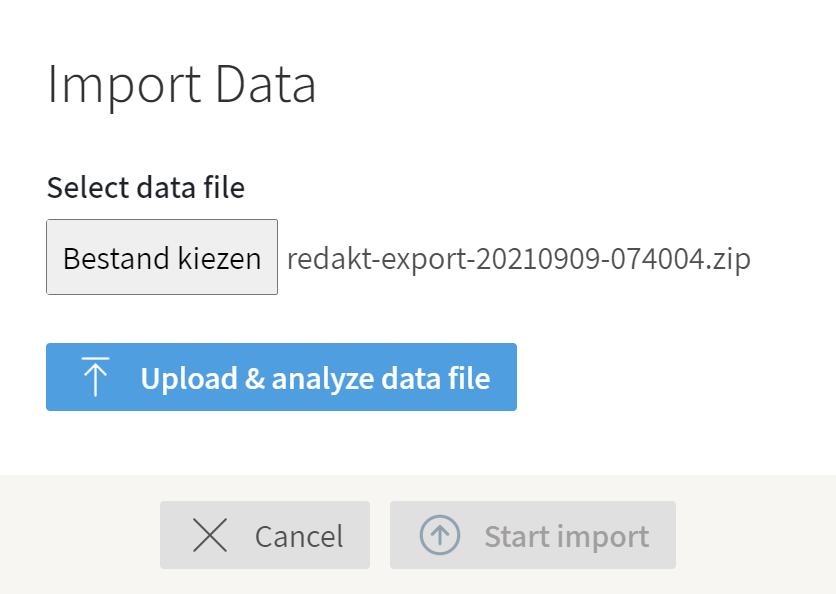 The import content dialog will appear. First, you need to select and upload the export package that you have downloaded from the source system. Then click the "Upload & analyze data file" button. The file will be uploaded to the target Redakt system. Depending on the size of the package and the speed of your connection, this may take some time. After the upload is complete, the file will be analyzed by the system. If the uploaded file is not a valid Redakt export package, an error will be displayed.
An error will also be displayed if you are trying to import a node that has a content type that is not allowed as the child of the target node, or if the content type of the node in the package does not exist on the target system. If there are no validation errors with the uploaded package, the import dialog will continue.
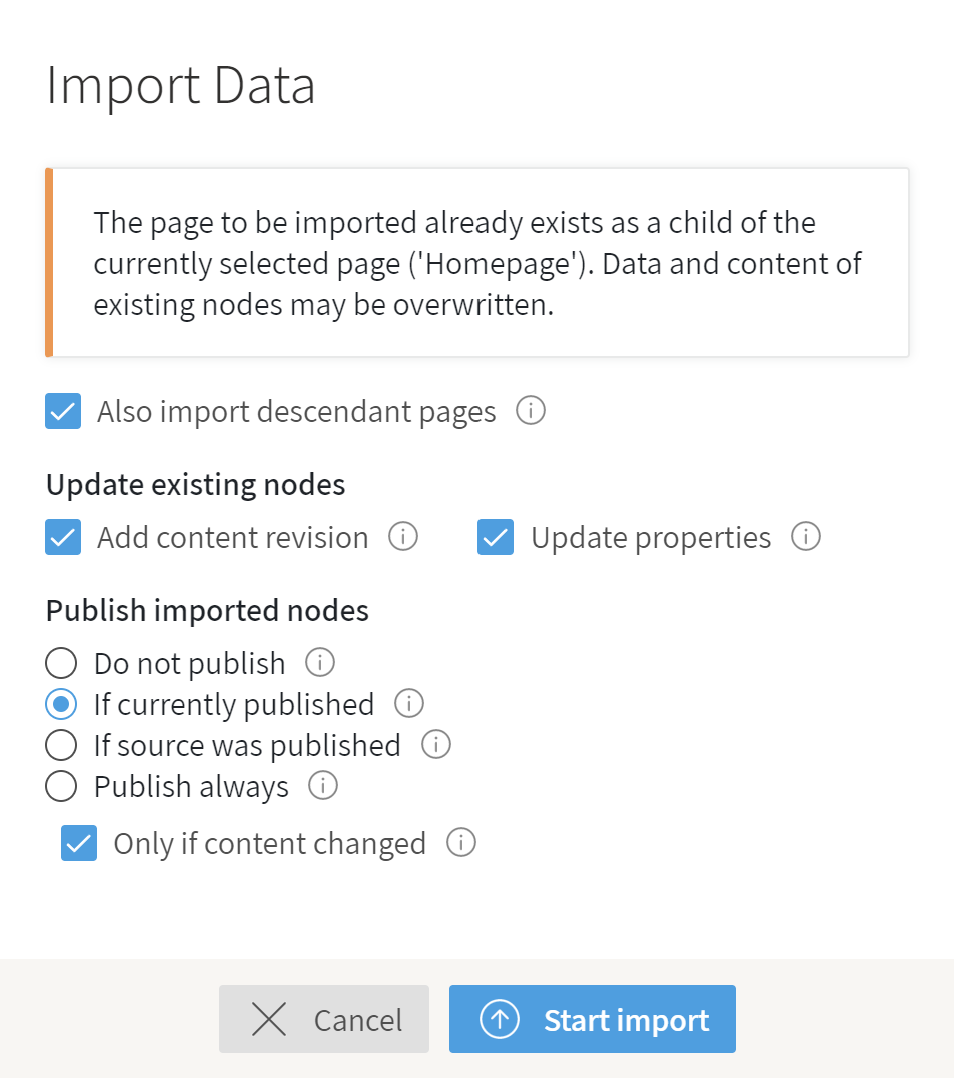 Depending on whether a node with the same id already exists on the target system (i.e. an overwrite of existing content), different options will be displayed in the next screen. If the node to import already exists, you will be asked if you want to add new content revisions and update properties for existing nodes that have changed. For nodes that do not yet exist, new nodes will be created.
Furthermore, you can decide if you want to immediately publish the imported nodes. You can choose between not publishing them, publishing them only if they are currently already published in the target system (for existing nodes), publishing them only if they were published at the time of export, or publish all imported nodes. You can optionally select that only changed nodes will be published. When publishing nodes that have never been published before, a URL segment will automatically be generated based on the name of the node. Please note that publishing nodes in this way does not require a user to have publish permissions (only import/export).
You will also be asked if you want to import descendant nodes, if the export package contains them.
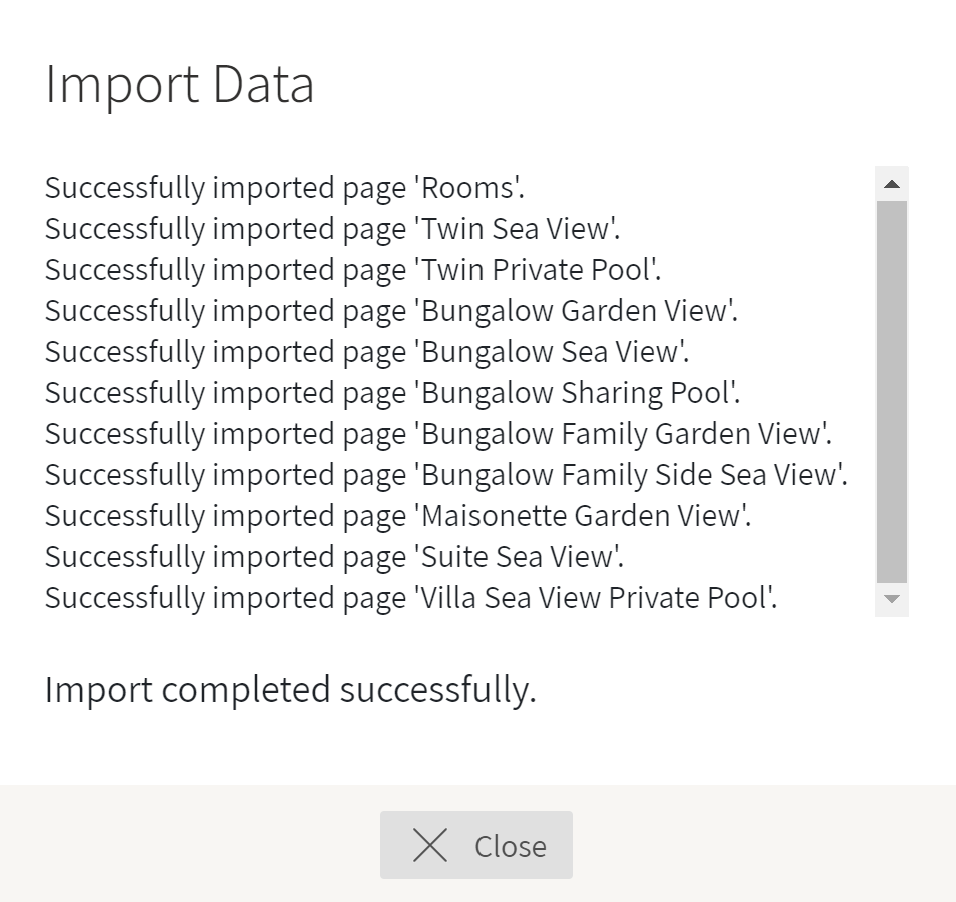 Click the "Start import" button to start the import process with the selected options. The import may take a while, depending on the number of nodes to import. During the import, the dialog will be updated with the progress of the import process.
When the import is done, you can review the import log to see if the import was completed successfully. After you close the dialog, the node tree will be updated with the newly imported nodes.
Other changes
In addition to the new import/export feature, Redakt v1.2 also contains some improvements to the sidebar:
- The sidebar (that is visible on most Redakt screens) can now be resized. The new width will be remembered between sessions while on the same computer. The sidebar can be resized separately per module in the system (i.e. pages, assets, dictionary, management, etc.).
- The context menu that was previously visible on the right side of the search box (for page and assets views) has now been removed. Instead, only a single recycle bin toggle button is shown. Other functions, such as creating a new root item, or the new import root nodes function, have been moved to a new context menu which is on the right side of the sidebar header.
For other changes between Redakt version 1.1 and 1.2, please see the release notes for those versions in the Redakt knowledge base.